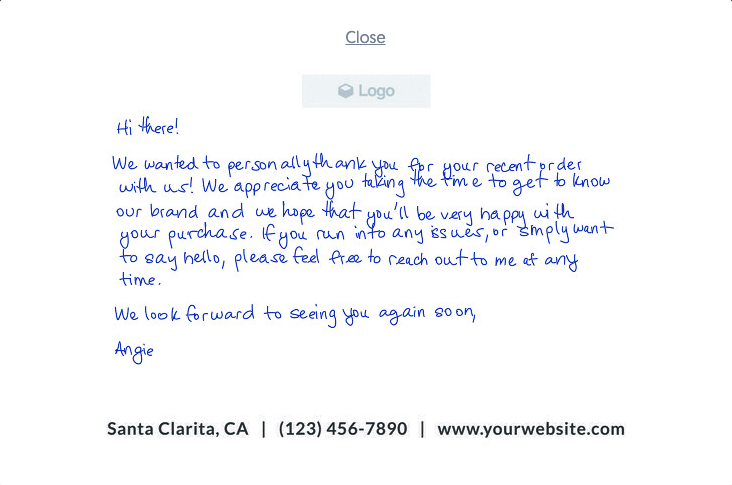
How do I design a handwritten card?
In this article we’ll go over how to create a handwritten card design using our design editor.
Step 1:
Go to the Designs section of your account and click New Design.
Step 2:
Next, you’ll be asked to select what type of design you’d like to create today. To continue, click Select under the Handwritten Card & Envelope section.
Step 3:
Now you’ll select a template to get started. For our example we’ll select Custom. Click Select to proceed to our design editor.
Step 4:
Now you can start by naming your design.
Step 5:
Next, it’s time to craft your message.
In your messaging, we recommend:
- Recognizing your customers' loyalty
- Offer help/support as needed
- Express your excitement to see them again on their next purchase
Please note:
Your message must be under 400 characters and less than 4 new lines.
Step 6:
After you’ve written your message go to the design editor and finish designing the other sections of your card. Click on Show Handwriting Placement to see where your handwritten message will appear next to your company information and logo.
(Don’t forget to finish designing the front of your card!)
Step 7:
Once you’ve completed your design it’s now time to save your design. Click on Save & Generate Proof once you’re ready to move forward.
Step 8:
You will now be taken to the Design Details page, where a message will appear advising you your proofs are being rendered.
Step 9:
Simply refresh the page, and once your proofs are complete you’ll see them appear at the bottom of the page.
Congrats! You’re now one step closer to launching your campaign! 💪
